Ideas · Kitchen
24 Small Kitchen Counter Organization Ideas
Appliance garages, counter zones, backsplash rails and freestanding risers that clear a short kitchen counter for actual cooking.
This guide has affiliate links. As an Amazon Associate we earn from qualifying purchases, at no extra cost to you. Learn more
In a small kitchen the counter is the most valuable surface you have, and it fills up fast: kettle, toaster, oils, a fruit bowl, the mail. Then there's nowhere to chop an onion.
The ideas below work in three steps: decide what really needs to live on the counter, move appliances into a garage, cart or tower, and use the backsplash wall for tools and oils. Rental-friendly freestanding options are included.
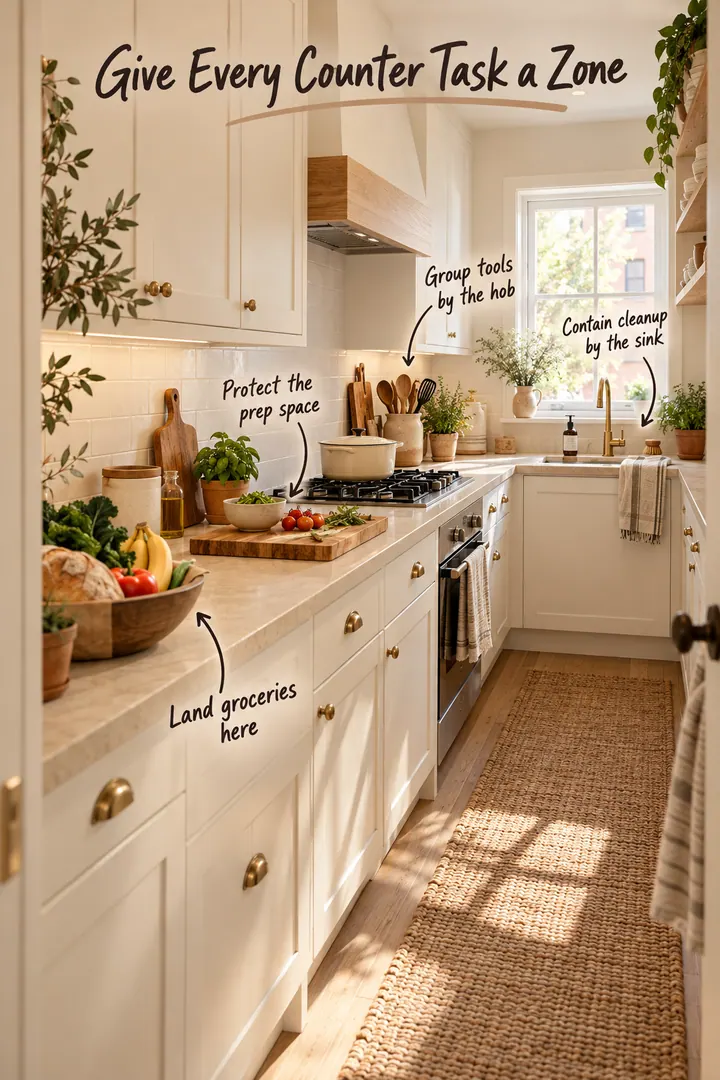
1. Split the counter into work zones
Organize the counter by what you do there: a landing spot for groceries, a prep strip, tools by the stove and a cleanup area by the sink. Things stop migrating and the prep strip stays clear.
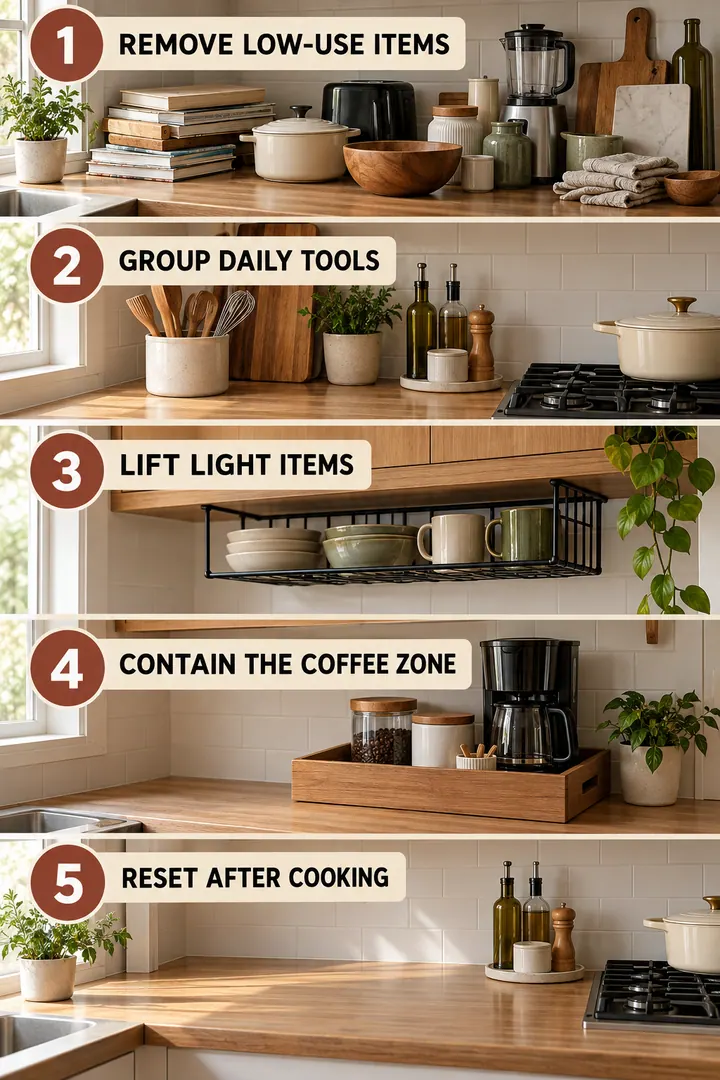
2. Keep, relocate, lift, contain, reset
Go through the counter in order: keep only daily items, relocate the rest, lift what you can onto the wall, contain small things in trays, and reset every evening.
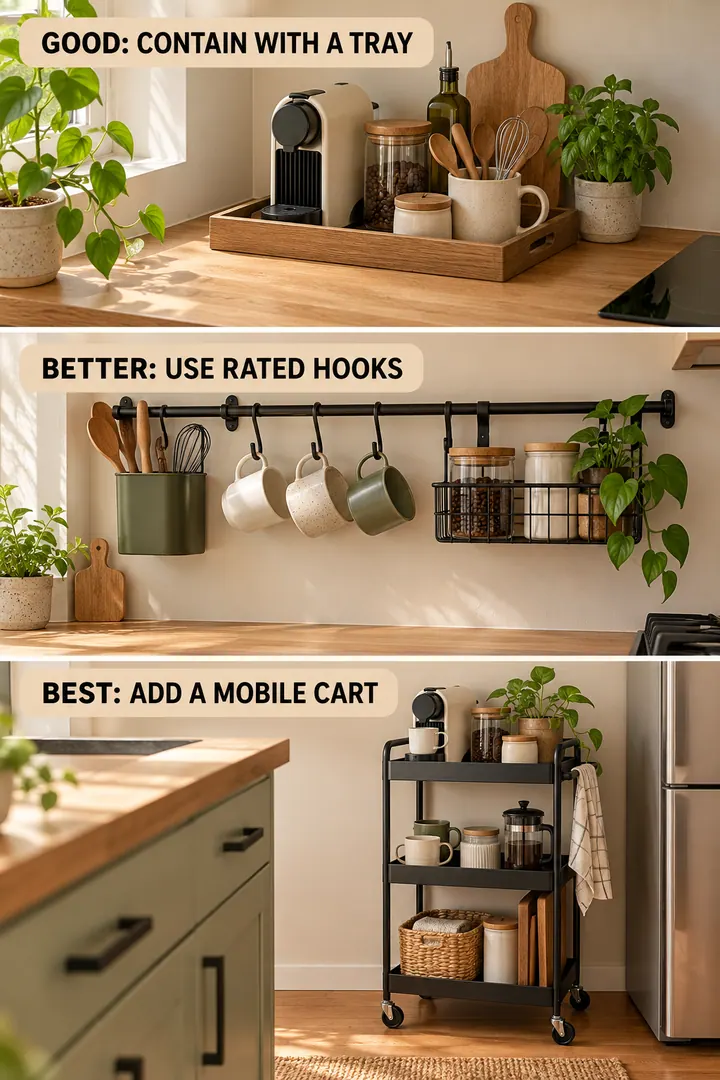
3. Start with a tray, then go bigger
A tray corrals the daily clutter. If that isn't enough, add a caddy against the wall, and only then a movable station or cart.
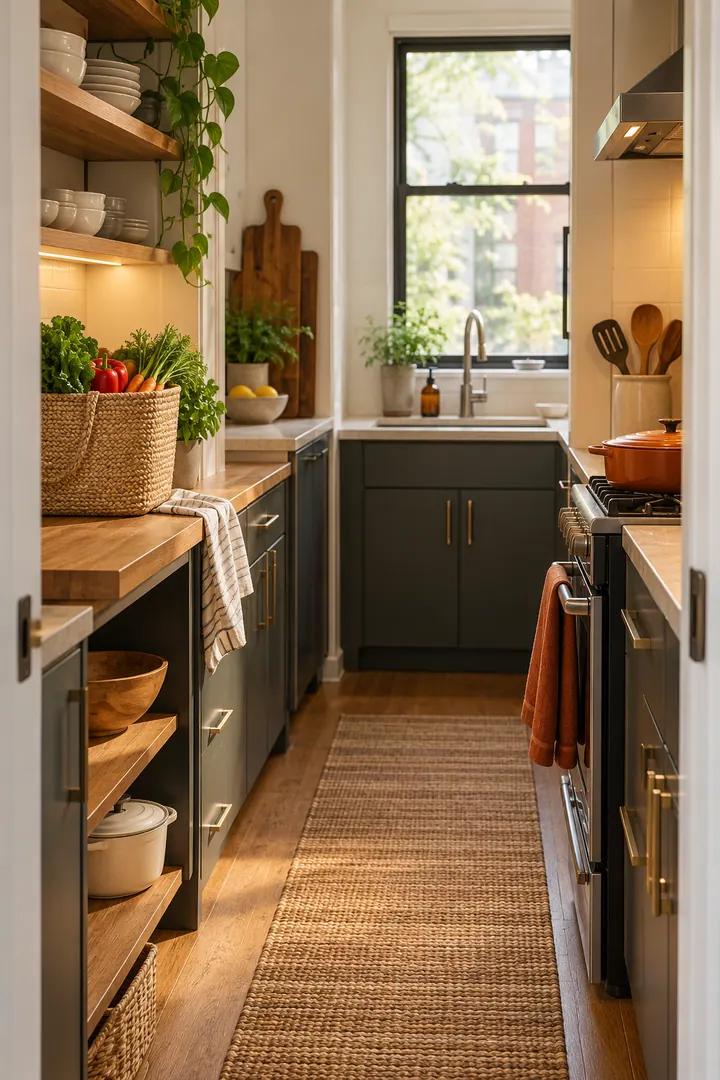
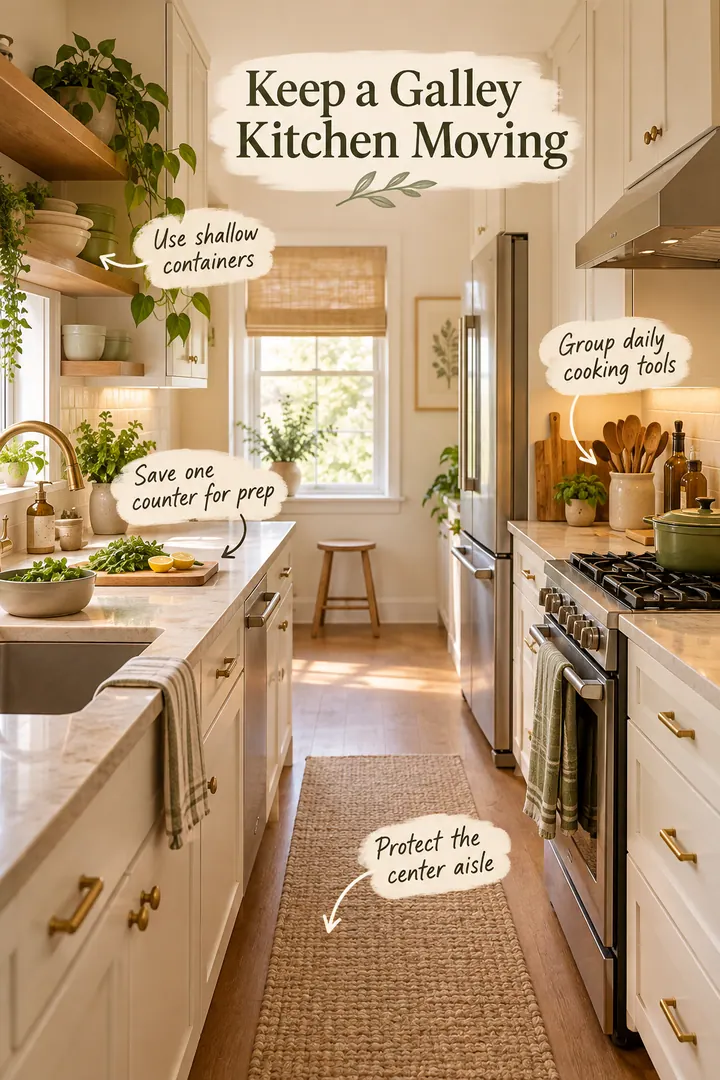
4. Landing zones at both ends of a galley
Keep one spot clear for groceries and one heat-safe spot for hot pans, and store tools near where you use them.
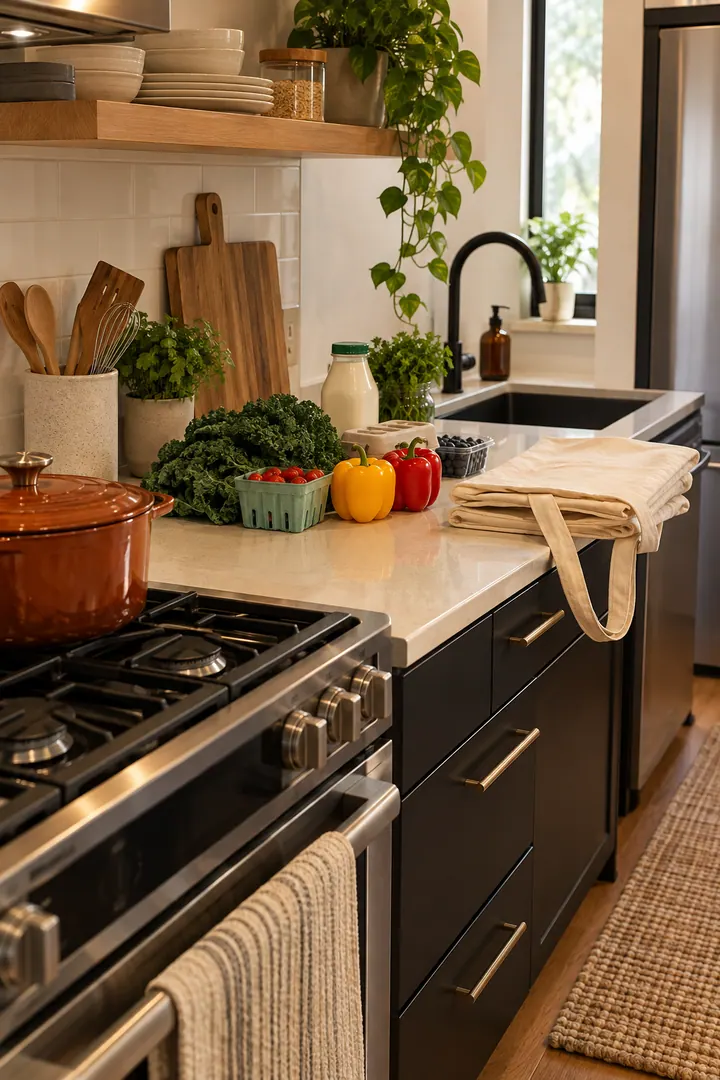
5. One landing square by the door
Reserve one square of counter near the entrance and move appliances off it. Unpack cold food first and fold the bags right away.
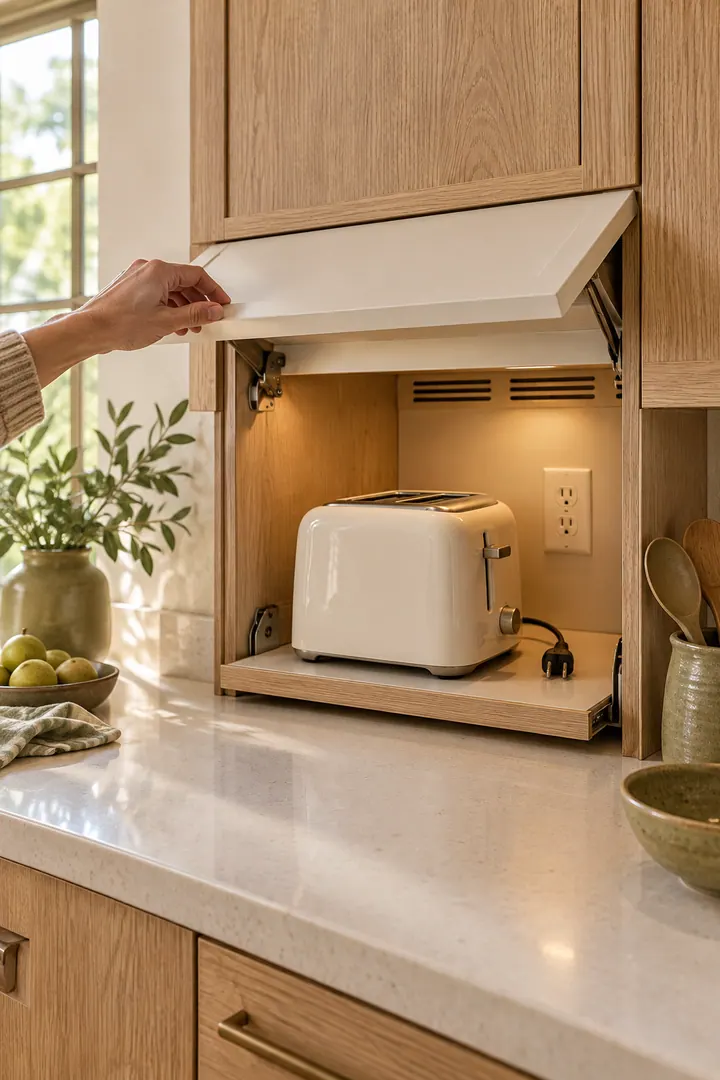
6. An appliance garage with a lift-up door
A cabinet with a lift-up front hides the toaster between uses. Give it ventilation, a heat-safe tray that pulls forward and an easy-to-reach outlet.
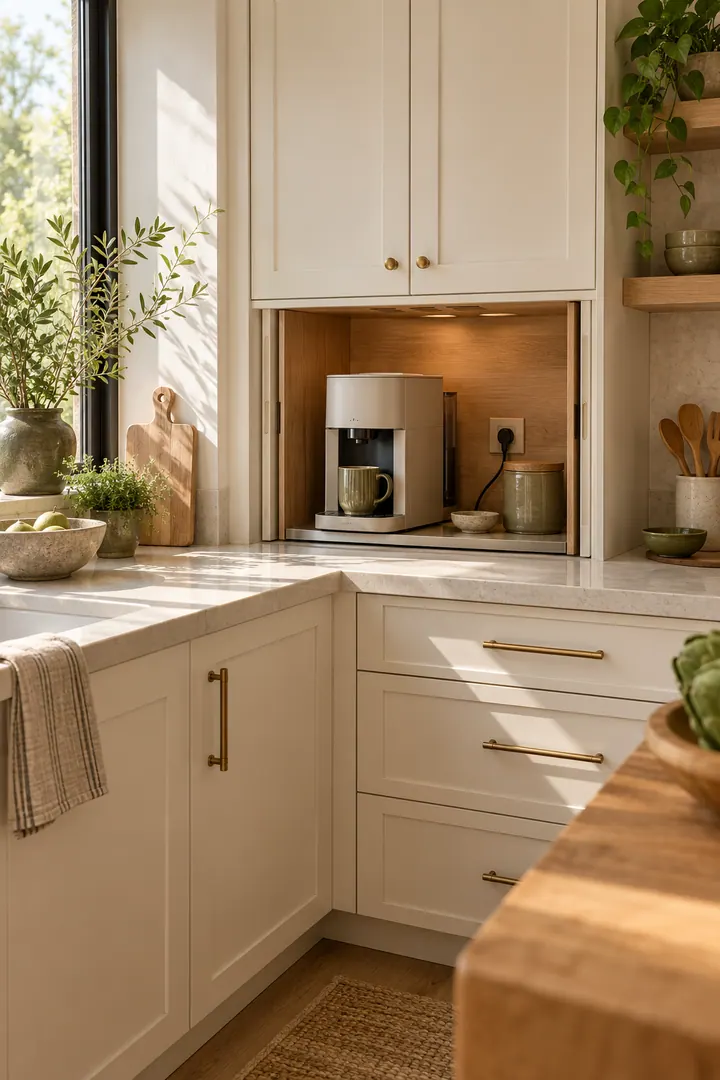
7. A corner appliance garage
Turn an awkward counter corner into a garage with doors that slide fully out of the way. A wipeable tray and a nearby outlet make it easy to use.
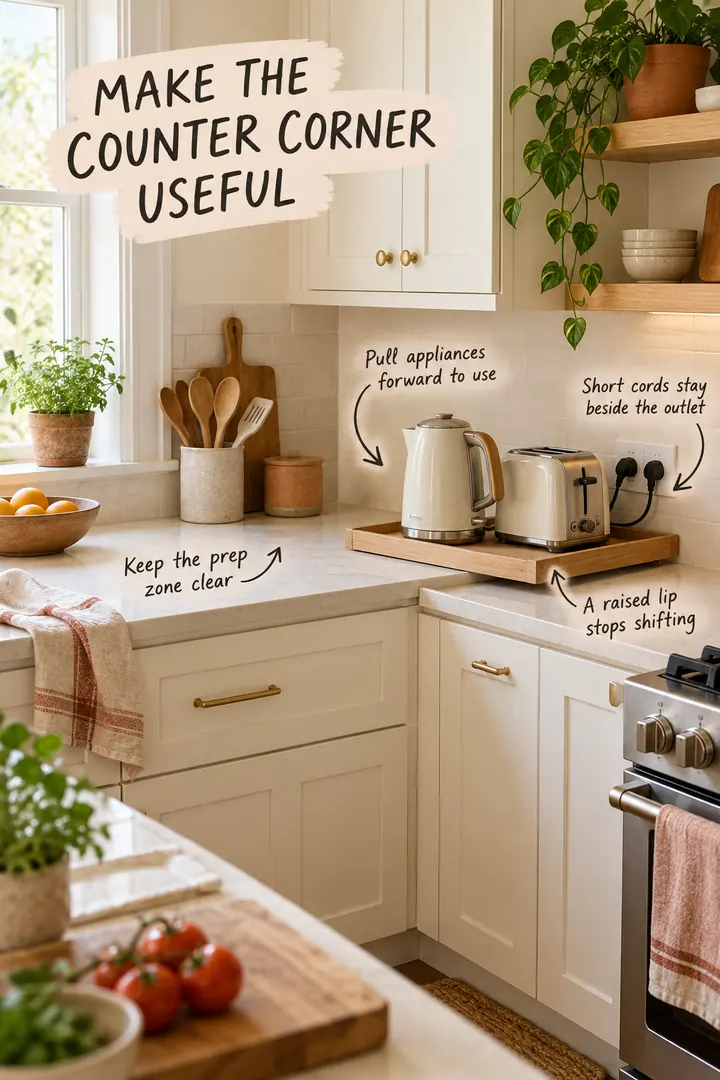
8. A pull-forward platform in the corner
Deep counter corners are hard to use. A platform that slides forward brings the kettle and toaster out when you need them.
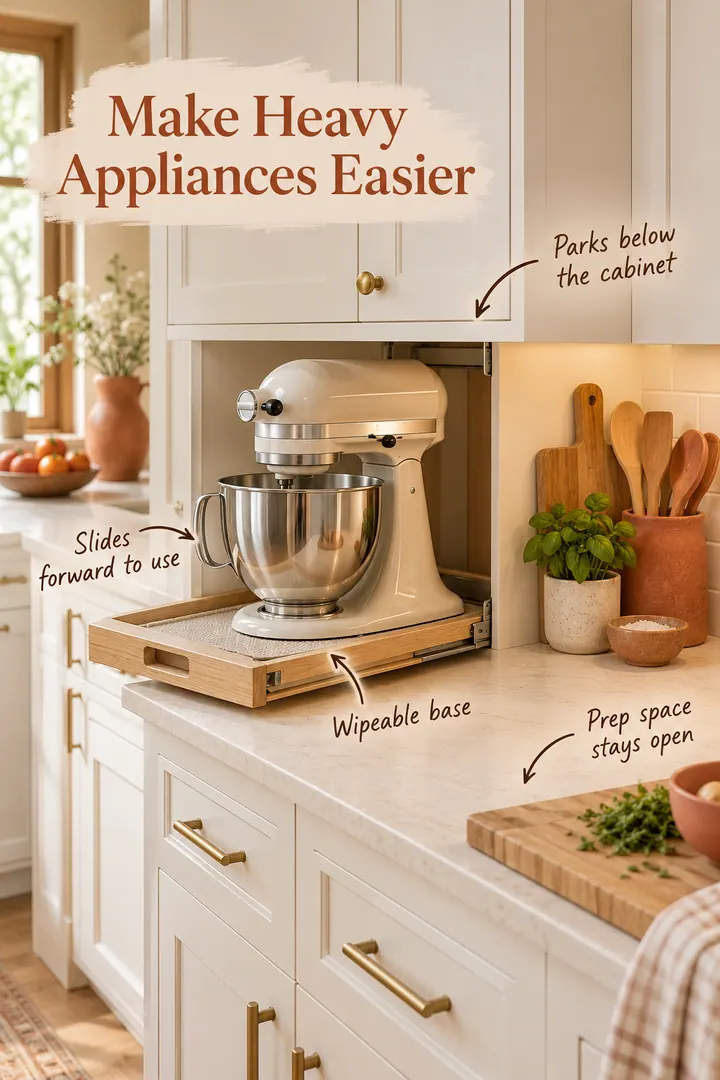
9. A sliding tray for the stand mixer
A low sliding tray gives a heavy mixer or coffee machine a parking spot under the cabinets. It slides out to use and back to clear the counter.
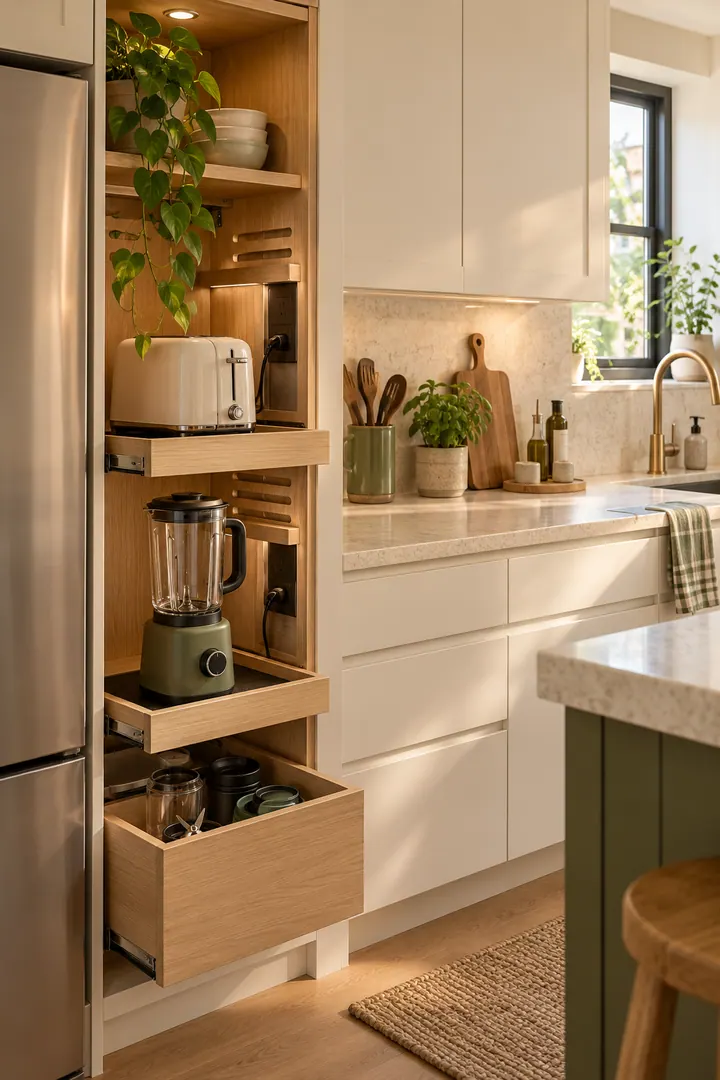
10. A slim appliance tower
A narrow tall cabinet with pull-out shelves holds several appliances vertically. Leave ventilation space and plan for power.
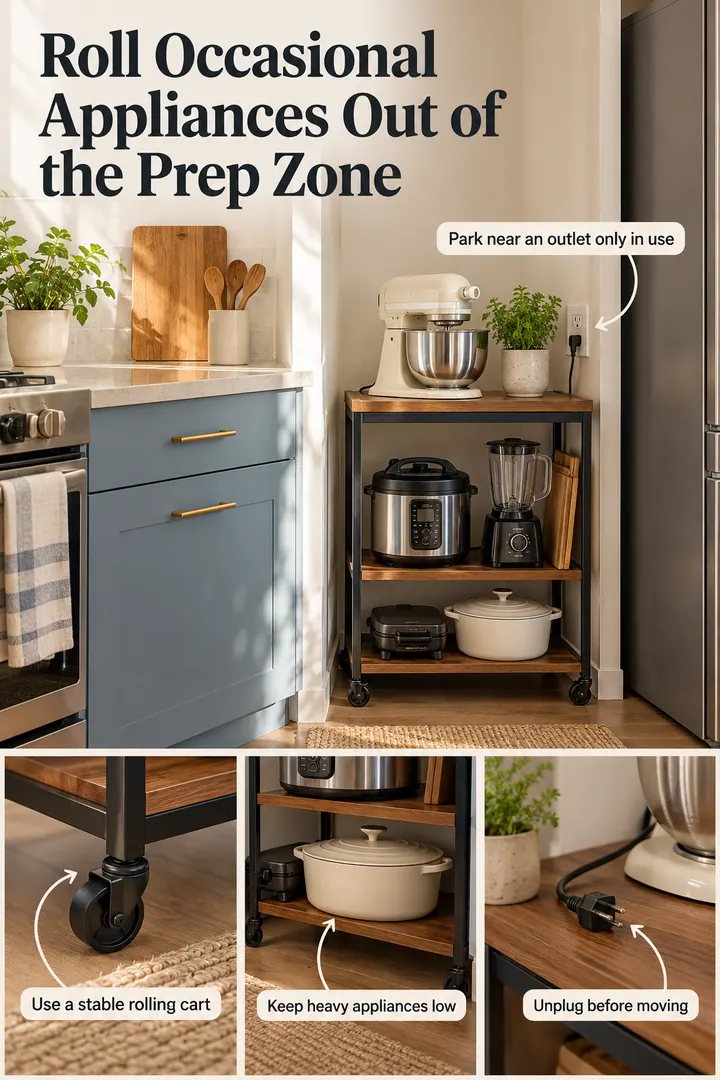
11. A rolling cart for occasional appliances
Appliances you use once a week don't need counter space. Keep them on a stable cart in an alcove and roll it out when needed. Unplug before moving.
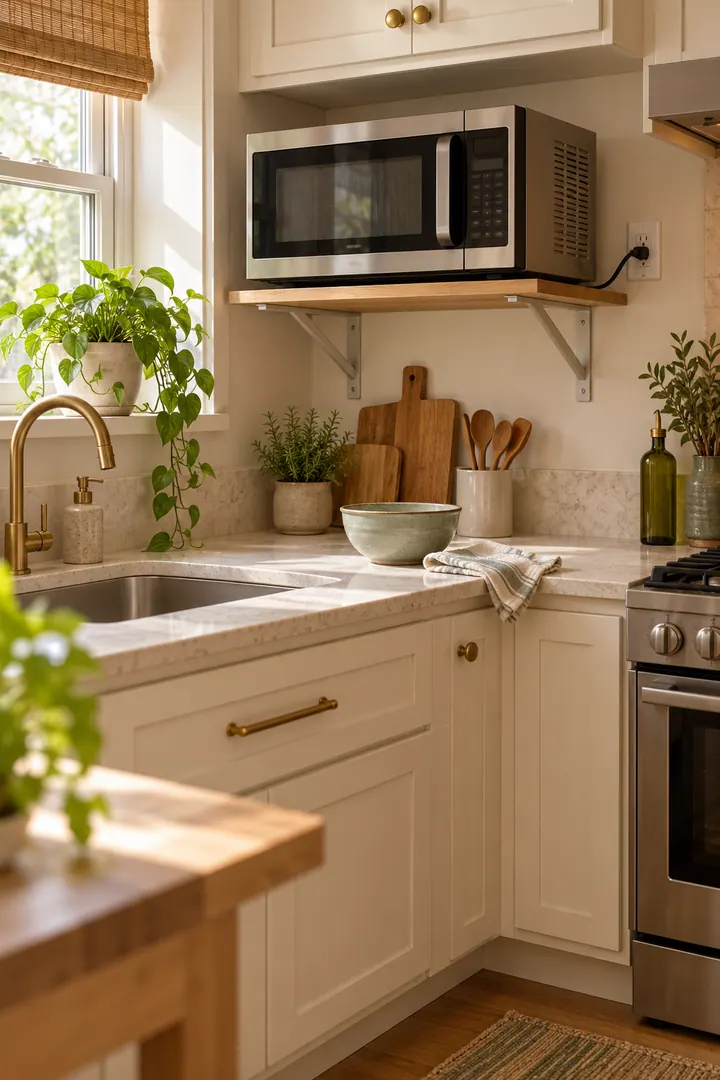
12. Lift the microwave onto a shelf
A properly supported, ventilated shelf for the microwave frees the counter below for prep. Keep the controls within reach.
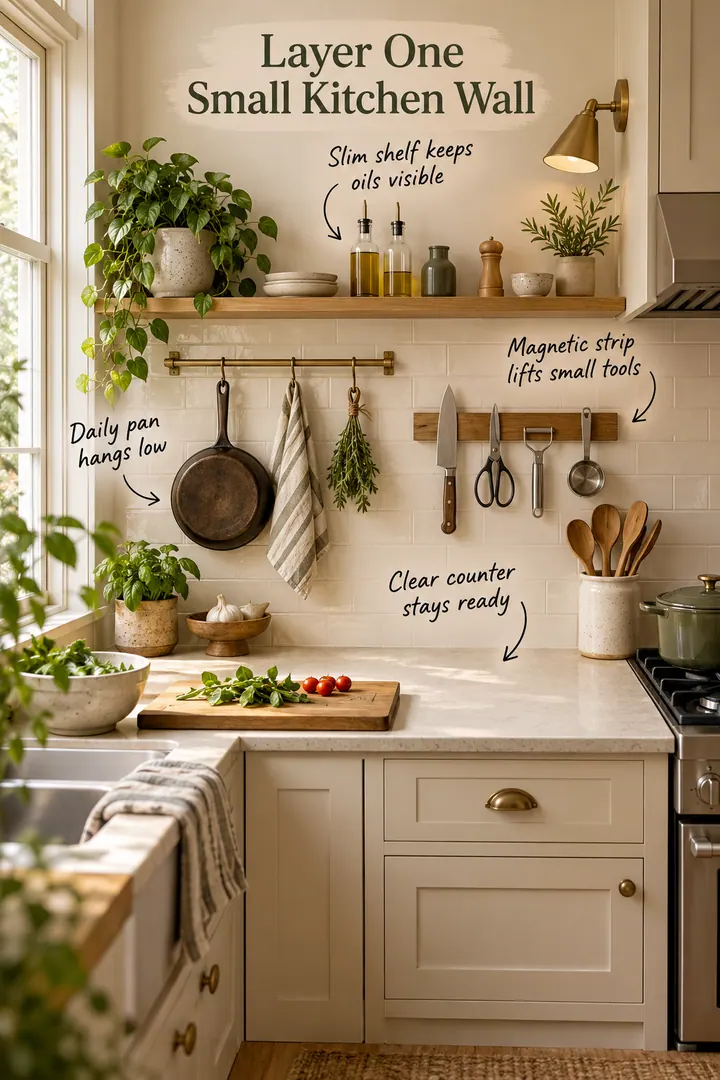
13. Layer the backsplash
Hang the pan you use most on a low rail, put oils on a slim shelf and lightweight tools on a magnetic strip. The counter below stays free.
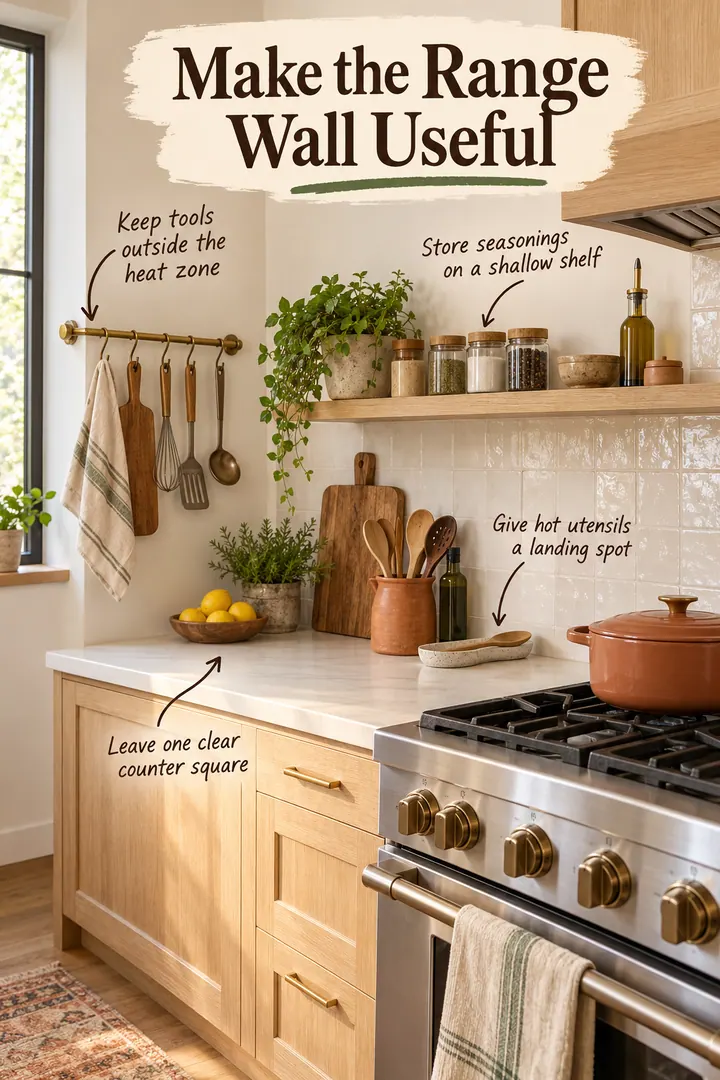
14. Organize the wall around the stove
Keep a short utensil rail outside the heat zone, a shallow seasoning shelf, a spoon rest and one clear stretch of counter next to the range.
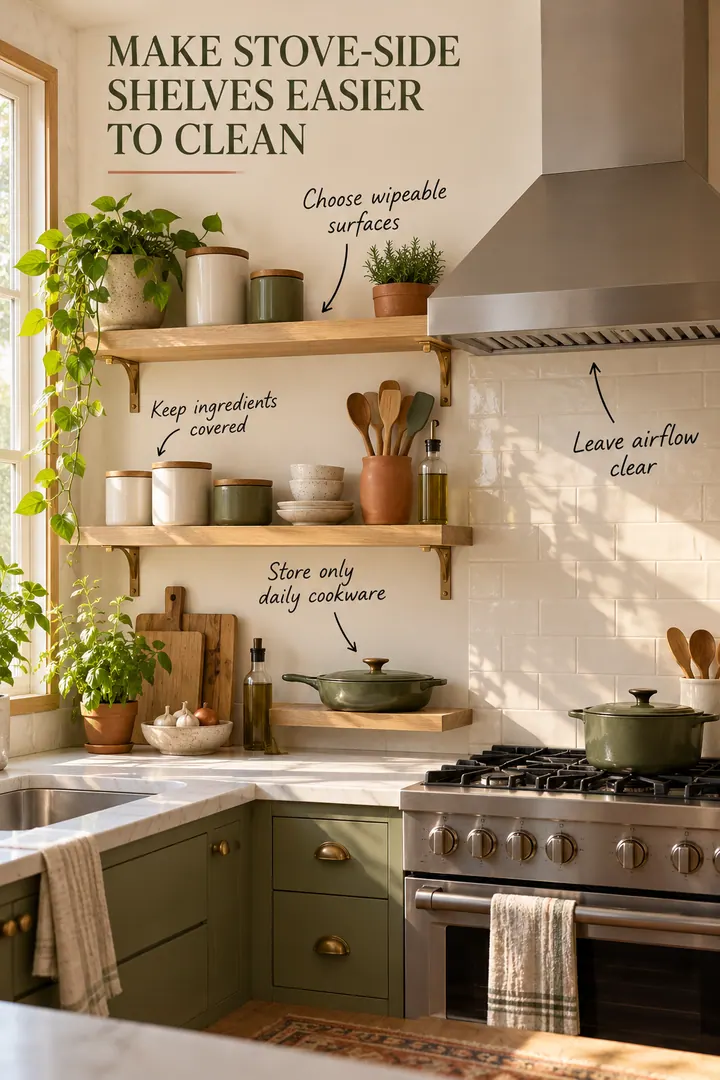
15. Edited open shelves near the stove
Open shelves by the stove work if they hold only what you use often, in closed containers, on wipeable surfaces. Keep the vent path clear.
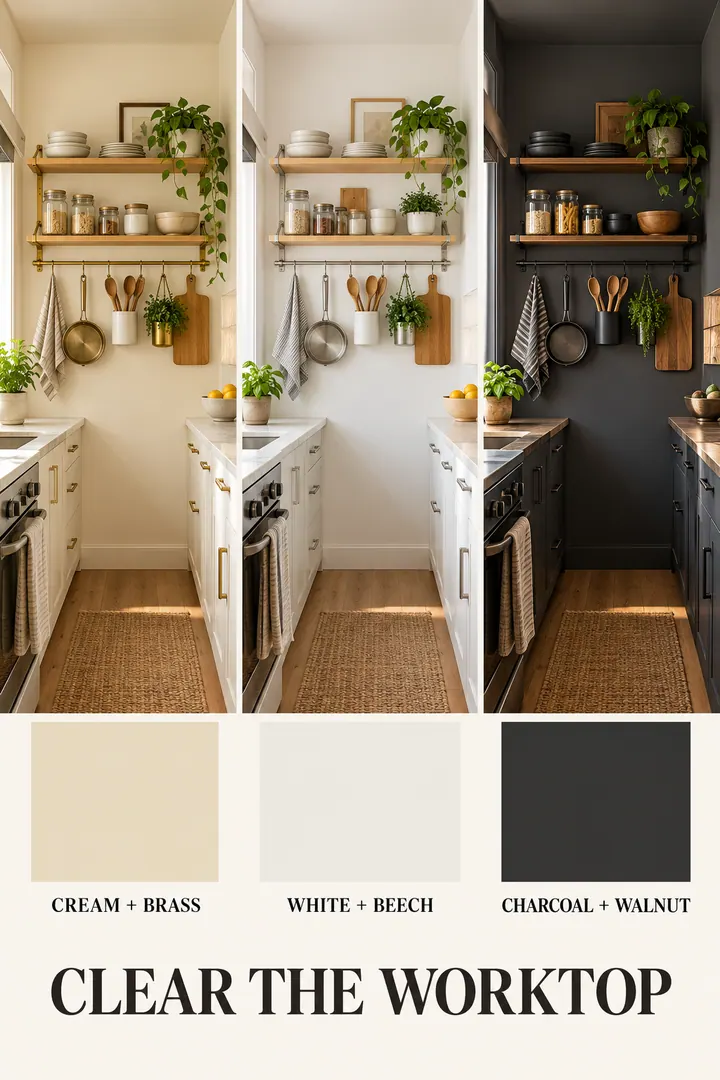
16. One rail-and-shelf system, three finishes
Wall storage looks calmer when it's one system in two or three restrained finishes, rather than a mix of random hooks.
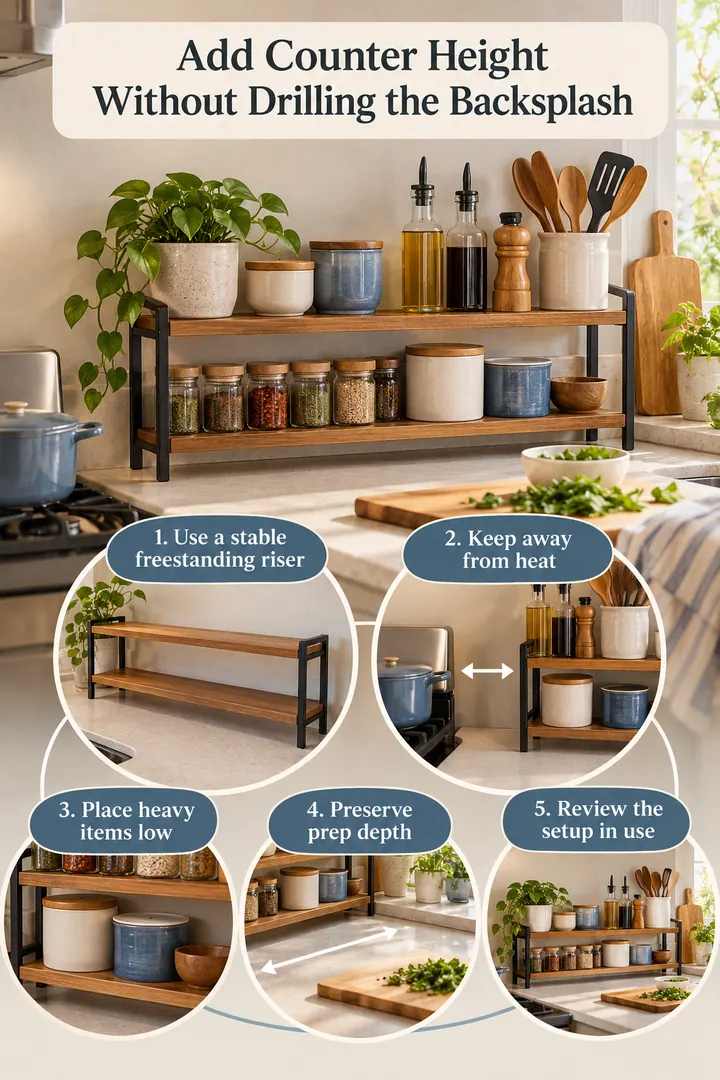
17. A freestanding backsplash riser
In a rental, a stable riser at the back of the counter lifts oils and utensils without screws. Keep it away from the burners and heavy things low.
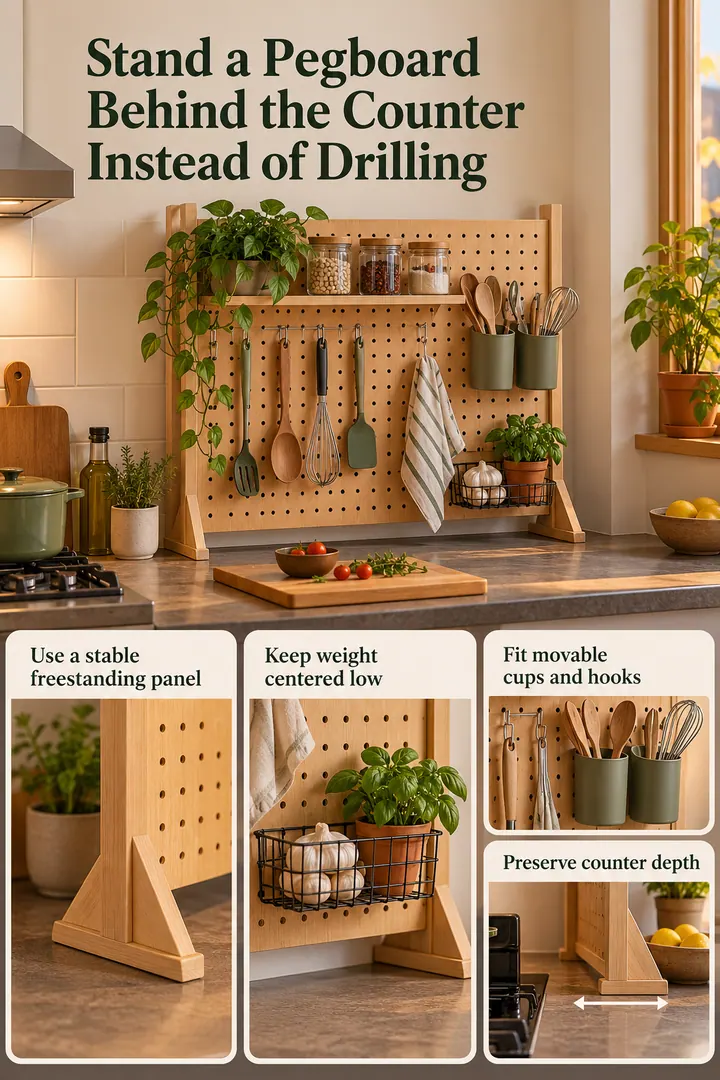
18. A freestanding pegboard
If you can't screw rails into the wall, a freestanding pegboard panel with movable cups and hooks gives you wall storage that leaves with you.
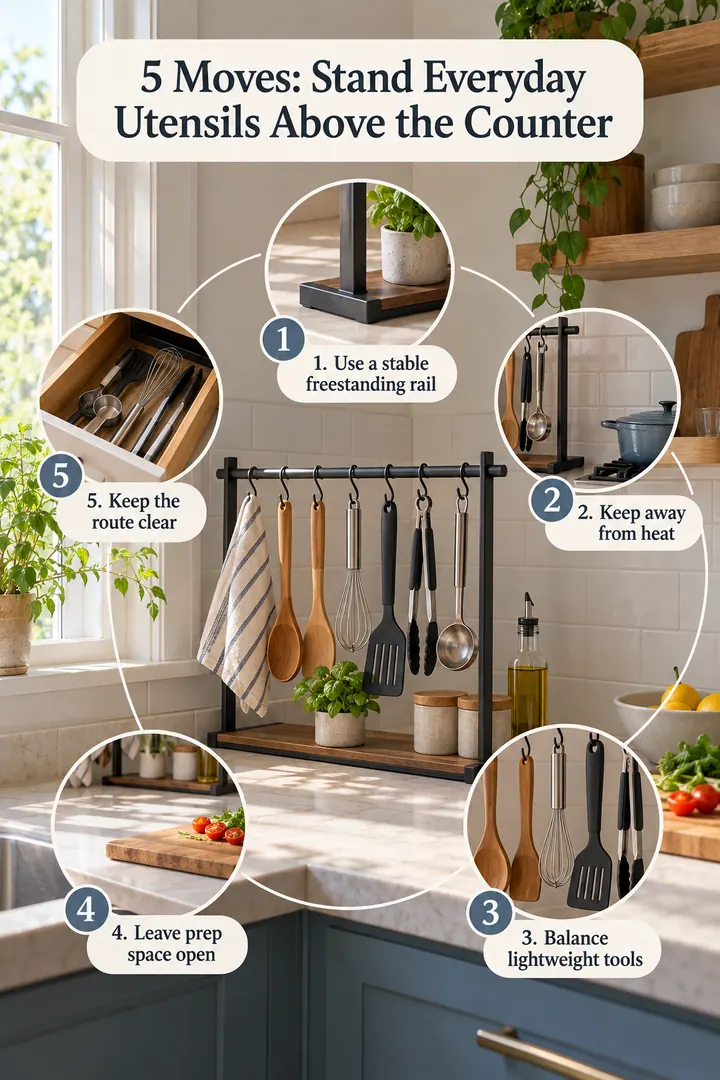
19. A freestanding utensil rail
A standing rail at the back of the counter holds your most-used tools and frees a tiny drawer. Balance the load and keep it away from heat.
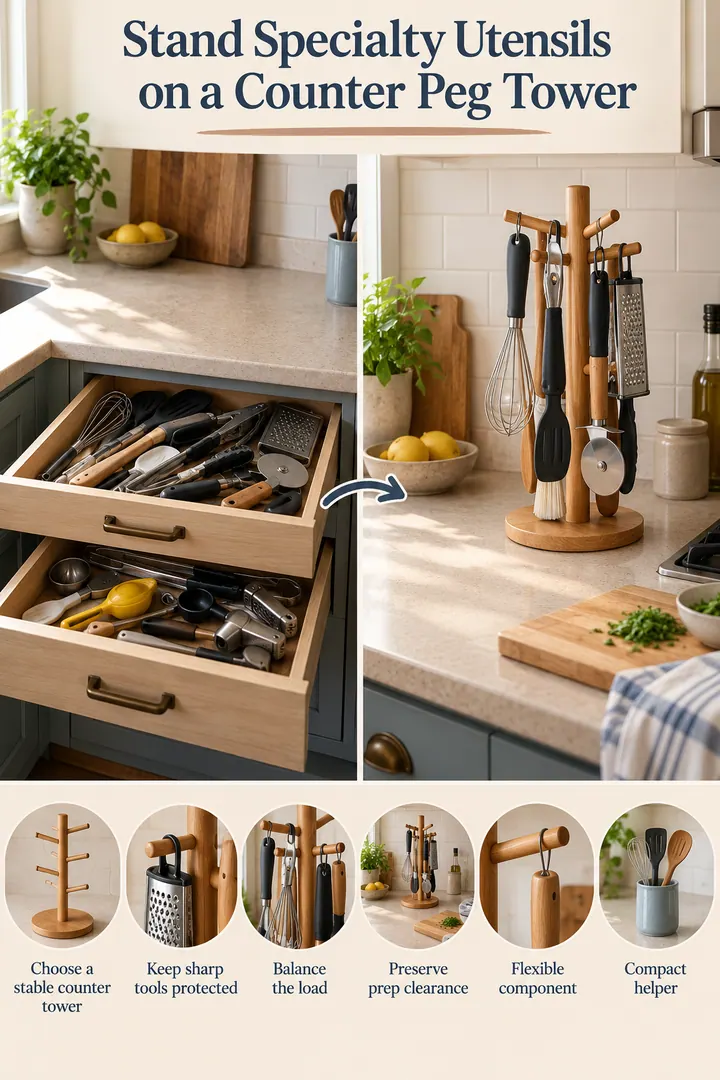
20. A countertop peg tower
A small tower with pegs holds specialty utensils upright so they stop crowding the drawers. Keep sharp tools protected.
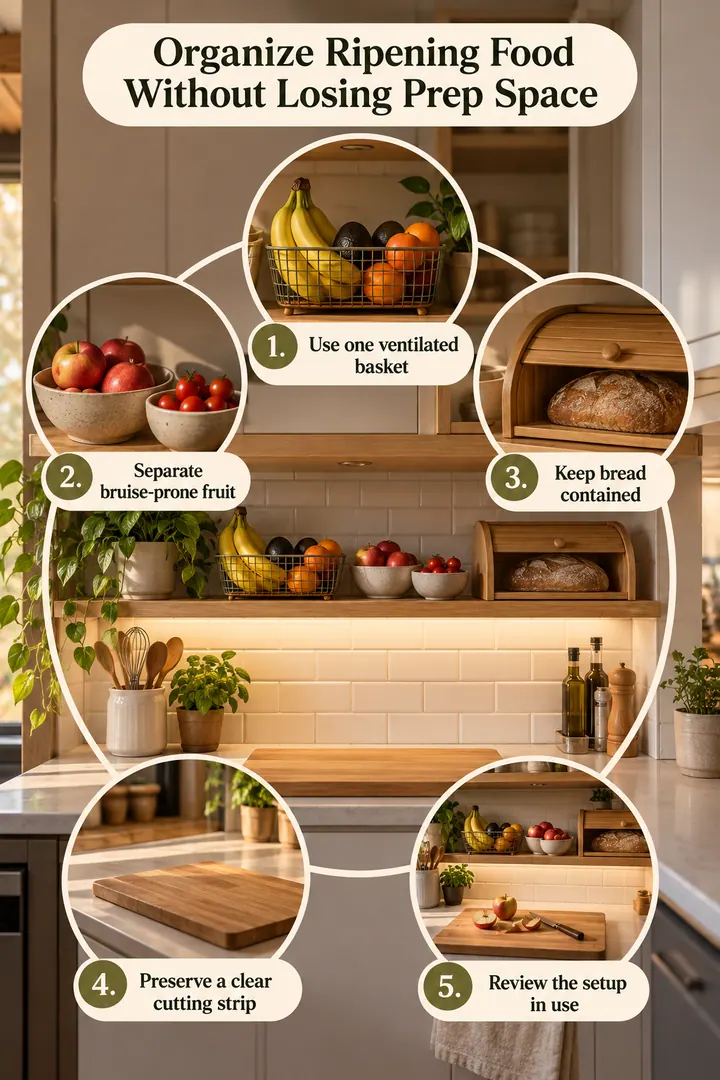
21. A bread and produce zone
One ventilated basket for fruit, a separate spot for bruise-prone produce and a contained bread box keep a cutting strip clear.
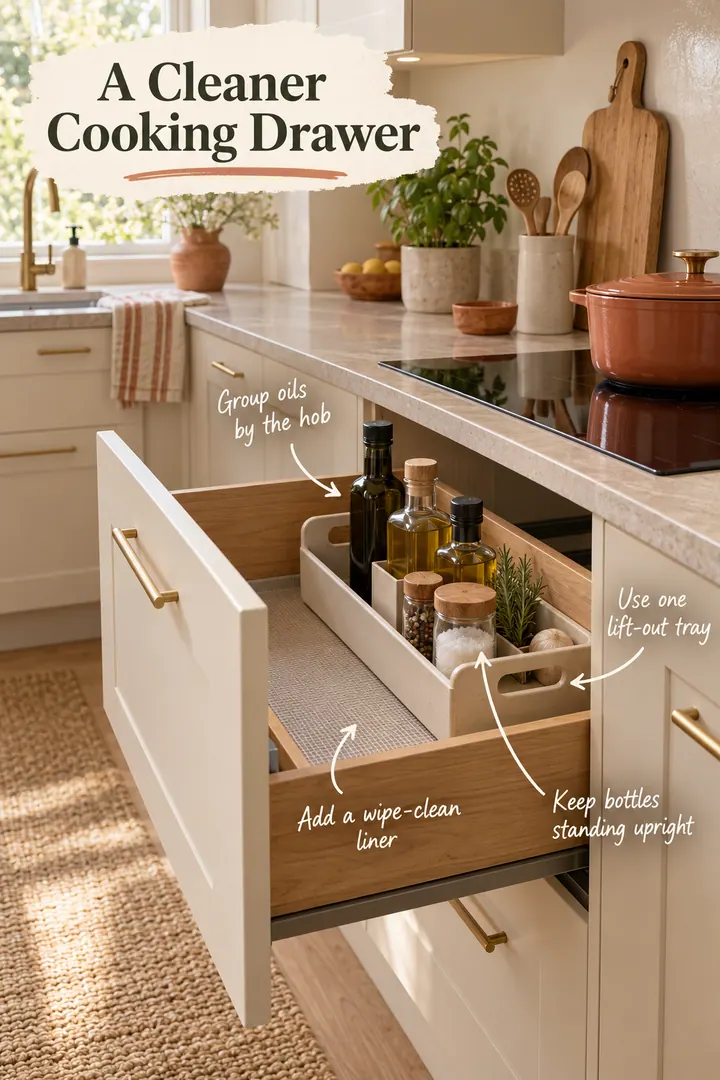
22. Oils in a lift-out drawer tray
Keep oils and seasonings in a handled tray in the drawer next to the stove. Lift the whole kit onto the counter when cooking.
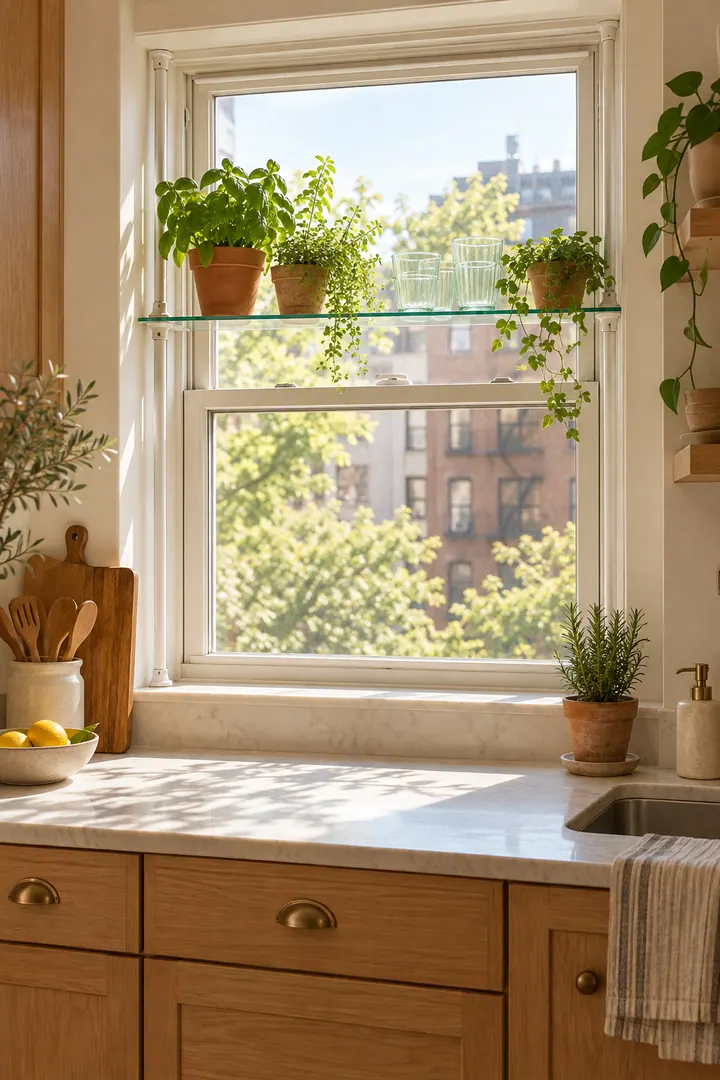
23. A clear shelf across the window
A narrow transparent shelf adds space for herbs and glassware without blocking daylight. Keep the sill itself clear.
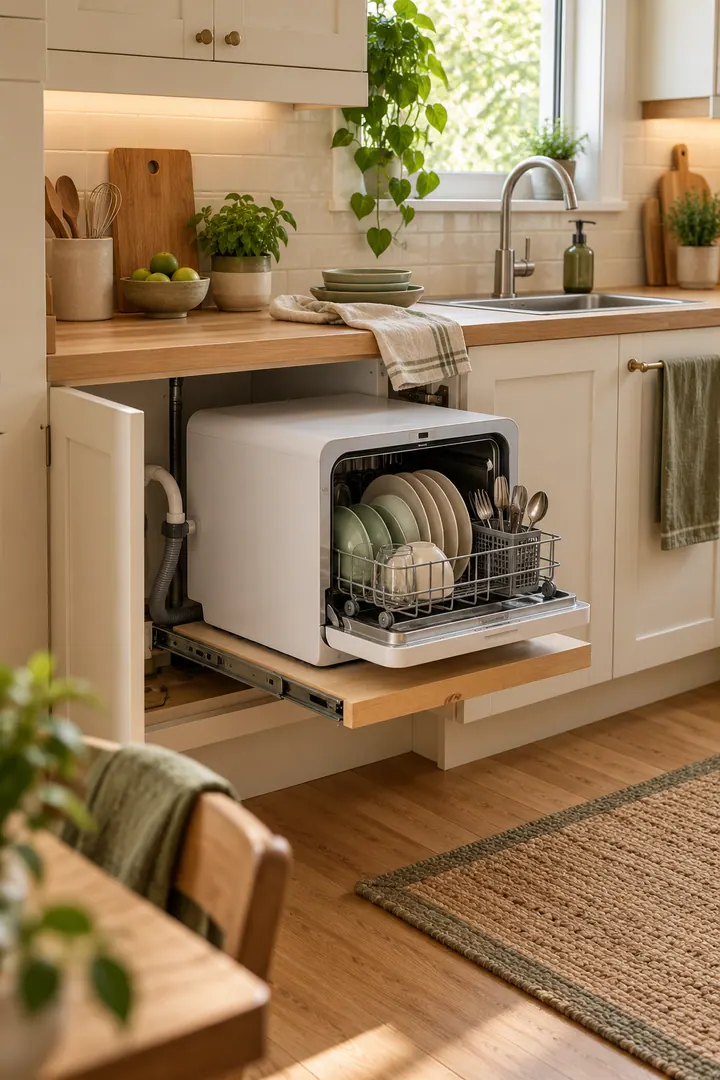
24. A pull-out shelf for a countertop dishwasher
A reinforced pull-out shelf keeps a compact dishwasher usable without taking the main counter. Plan for weight, hoses and ventilation.
Before you buy anything
- Use the counter only for things you touch every day. Weekly appliances can live in a cabinet or on a cart.
- Keep at least one stretch of counter (about 2 feet) completely clear for prep.
- Check outlet positions before planning where appliances go.
Questions people ask
How do I organize a small kitchen counter?
Remove anything you don't use daily, move appliances into a garage, cart or cabinet, and use the backsplash for tools and oils.
Where do I put appliances in a small kitchen?
In an appliance garage, on a pull-out tray, on a rolling cart or in a narrow tower cabinet, close to an outlet.